Friday, February 26, 2016

Friday Post Feb. 26

What I Did

This week I used flash to make an animated "movie". It consists of a 'city' background with a road and a few trees. When I press the start button a car drives across the screen.

What I learned

I  learned how to use the basic tools of Flash in animation.

In Flash I learned:
  • How to make new layers
  • How to make colour swatches
  • How to make motion tweens
  • How to import .gif animations
I also learned some shortcuts for Flash.

F8 = Create a symbol
ctrl+B = Break apart
ctrl+G = Group
F5 =  Add frame
ctrl+X = cut
ctrl+V = paste
ctrl+shift+V = paste in place
F6 = Set selected frame as keyframe
ctrl+enter = Play movie+export SWF file
When using animated gifs, use the symbol version and drag the bitmaps into a folder.


Monday, February 15, 2016

(Belated) Friday Post 2

What I did this week

This week, I took the letters of my name I made last week and put different textures for my first name, last name, and both. I put a mall parking lot as the texture for my first name, and image of earth from space for my last name, and an upside-down map as the texture for an image with both my first and last name. 

After making those, I then put an overlay on top of each of them; I used a carbon lattice as the overlay for my first name, a fur texture for the overlay for my last name, and grass as the overlay for the image with my first and last name. 

The next thing I did was overlay different textures onto three images, and gave all three of them backgrounds. The first one I made was of a car with a carbon fiber texture as the overlay, and a blue planetscape as the background. The second image I made was an eagle with two different metal overlays and the background was the sky with clouds. The third image I made was a tree with a 'space' overlay and an ocean background.

What I learned

I learned how to apply images as textures for different shapes by using the magic wand tool to cut out the shapes, and ctrl-J to make a new layer via copy.

I then learned how to make an overlay on the original image by cutting out the same shape and changing the opacity of the top layer to allow both the top and bottom image show.

I also learned how to apply overlays to irregular objects, such as a car, and make it look like it's supposed to look that way-it doesn't look strange.

Tree Overlay


Animal Overlay

Friday, February 5, 2016

Friday Post 1

What I did this week

This week I made a new blog for my info tech class. I then personalized it with an avatar and a quote. My first post was an animated gif with my "predicted grade". I then used photoshop to make landscape images in the shape of the letters of my first and last name. 


What I learned

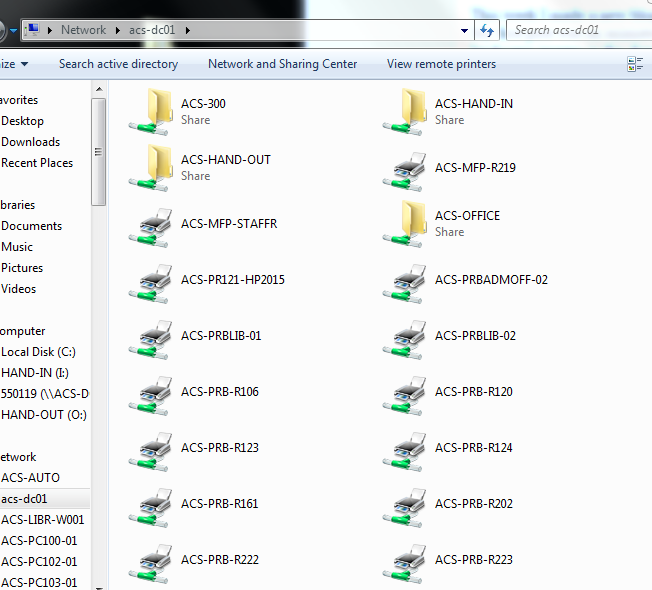
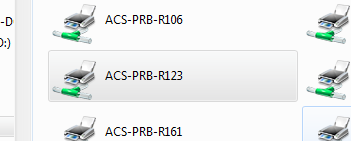
On the first day, I learned how to add a printer. To do that, I went to \\acs-dc01 in windows explorer, and searched for the printer "ACS-PRB-R123"


I also started my blog.

On the second day I learned how to add different things to my blog such as adding a profile image on the right hand side of the blog by using something called a "gadget".


I also learned how to use the basics of Photoshop, such as:
- How to use the Crop tool


- How to use the Erase tool and edit the size of it


- How to use the three Lasso tools


I also learned some photoshop shortcuts:
- ctrl+Z = undo
- ctrl+D = unhighlight
- ctrl+alt+Z = many undo
- ctrl+X = cut
- ctrl+A = select all

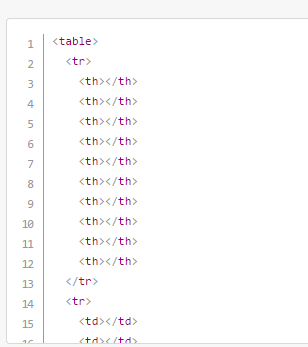
I also learned how to use HTML coding to make a table, insert images, and change the background colour.